
Well, Thanksgiving time is here and I know we are all focusing on the turkey the day of, but I’d like to spend a moment thinking about what happens to the bird Friday. It is recommended that you take all of the meat off the bird Thanksgiving night and pack it away to insure moist meat for days of sandwiches to come. But you might as well put that carcass to work and make some fabulous broth from all those winter soups that will be on the menu for months to come.
If there is one thing I can do, it is make a bang-up brilliant broth from a chicken or turkey carcass. I’ve been making and freezing my own broth for 10+ years and I find that it is the backbone of many great dishes. Call it cheapness, but I hate to waste—and making broth is a terrific way to turn things that might be tossed into an amazing kitchen staple. And “bone” broths have become rather fashionable now, claiming to help restore bad knees and elbows and being the real reason chicken soup is such a foe of the common cold.
Over the years, I found collected and created some tips that really help turn the broth from a pallid soup starter to a really wonderful broth that delivers a great taste in every spoonful.
So, here are my tips. Even just doing one will make a difference, but doing all three turns your broth into a divine sipping elixir!
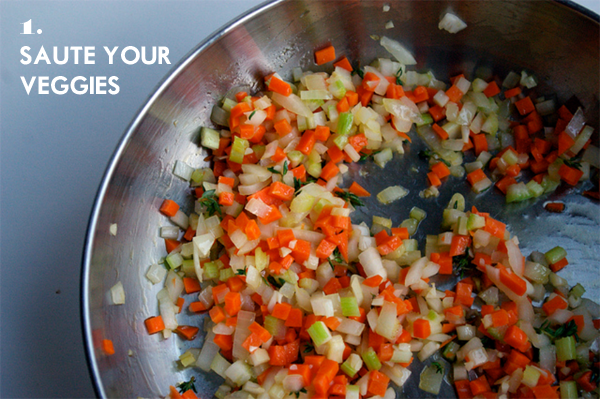
Image: Patent and the Pantry
Sauteing your mirepoix is a pretty well known secret (Edna Lewis, Cooks Illustrated and Miss Smitten Kitchen are all believers), but still it begs to be repeated. It is so tempting to just toss all of your veggies in a pot along with the chicken/turkey carcass and call it a day, but to get that extra flavor it is worth it to cut the celery, carrots and onions up and saute them in the stock pot with a bit of olive oil. I swear it doesn’t take more than 10 minutes to chop and saute and it adds more depth of flavor in the long run.
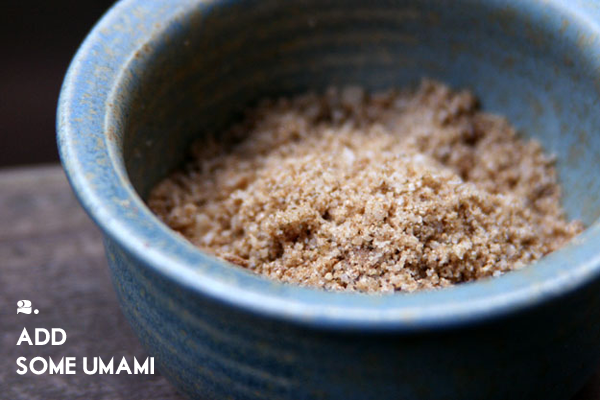
Image: Breakaway Chef
I read chef Eric Gower’s blog and was really intrigued by this umami salt he makes out of Parmesan cheese, dried mushrooms and a bit of kelp (you can use Trader Joe’s seaweed snack if you can’t find the kelp crystals). I made chicken soup once, tasted it and then added the umami salt I made and was honestly amazed at the taste difference. It just tasted better. I can’t put a finger on it, but seriously, it is worth trying and adding it to your broth in the last hour of simmering and just be amazed! If you can’t find the seaweed, just add a few dried mushrooms and a bit of Parmesan rind.

Haha! Sorry—this picture above is way prettier than the raft I’m talking about. So you just finished making your broth and are letting it cool down completely so you can take that layer of fat and gunk off. I find that to be the biggest pain in the universe. Instead I build a raft, A raft is this magical combo including egg whites that sucks and filters out all of the gunk and impurities that happen in broth. It turns a cloudy stock into a much clearer and fat-free beautiful broth. I took notes from CHOW.com but here it is in a nutshell:
- Add to your cuisinart 2 carrots, 2 ribs of celery, 1 bunch of parsley and on medium onion and chop until pieces are about 1/2 big.
- Put contents of cuisinart in bowl and add 6 egg whites and 1 lb of raw ground chicken. Mix all ingredients together. This is your “raft”.
- Add raft ingredients to completely cool stock. Stir it up and turn on heat. Keep eye on broth making sure it simmers, but doesn’t bowl and break up the raft. Let simmer for half hour.
- After half hour passes take out larger chunks of raft with slotted spoon. Let cool. Line colander with cheese cloth and gently pour remaining broth out.
- Taste and add salt if necessary.
So, there you have it! Are you a broth aficionado? Do you have any broth secrets to share?

I love a well stocked freezer.
Actually, it helps to have a garage that you can put the mid-size energy efficient stand alone freezer your parents made you buy at an estate sale. But I love that freezer and the bounty of time saving joy it brings me in the form of frozen goodies. Â CHOW’s old food editor swore that the freezer was the best kitchen trick she had to producing great food fast.
It’s one of those things that helps me sleep at night. Â I always have a couple of quarts of frozen chicken stock and usually a couple frozen dishes for later. Â But that’s my baggage from my college summer job working as a costumed interpreter at Old Sturbridge Village. (Don’t worry, I am SO going to write about that later…)
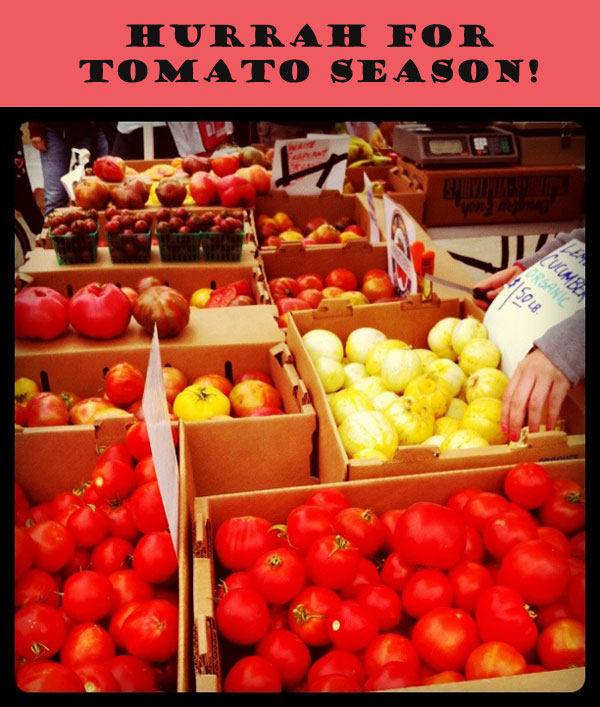
I noticed the wonderful glut of cheap organic tomatoes at the farmer’s market and thought, “hey–why don’t I make my own marinara that i can freeze and pull out when I want! It will be so much healthier and cheaper and not canned!”

Sure. Why not? Because I have all this free time. HAHAHAHAHA Â (wipes tear away from laughter…) Â Oh. and a million other projects that need to be finished and linen closets to clean out and. . .
Like THAT ever stopped me before. Over the past weekend, I made marinara from scratch. And it was crazy easy.
Here is what I’ve learned: making marinara sauce from fresh tomatoes to freeze is easy, but takes times. Â Because of the steps. Oh, yeah. The steps. I basically used this recipe from Former Chef.
Here’s how it went:
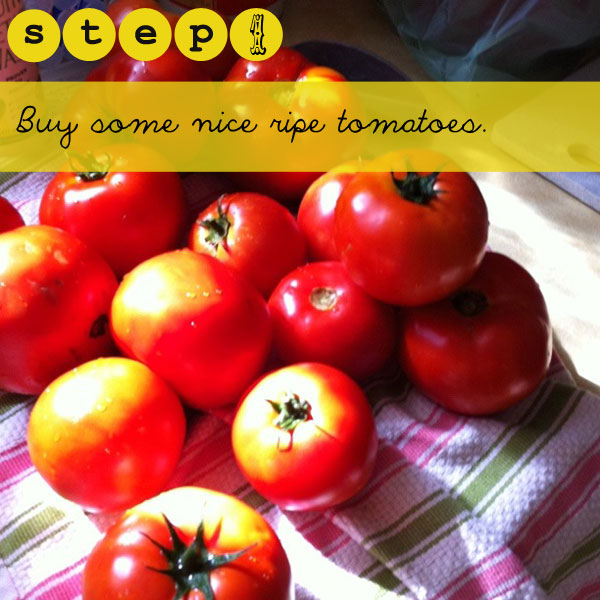
I started with ten lbs of glorious tomatoes that I bought for a steal at the farmer’s market.
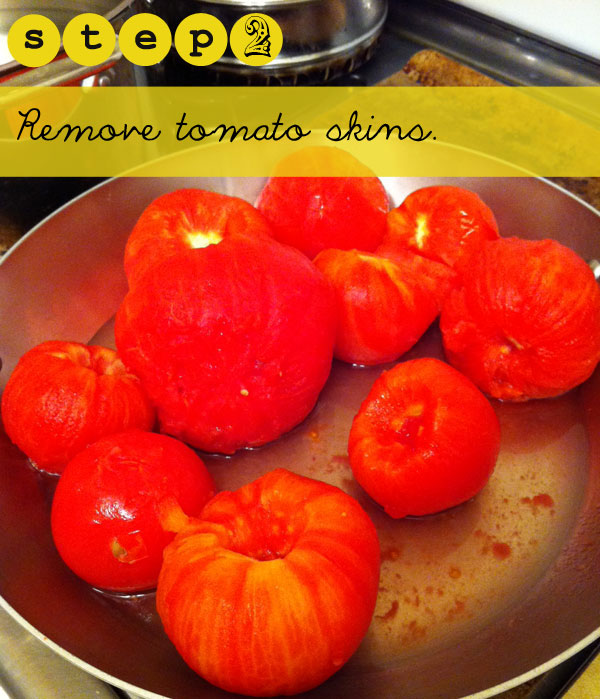
I thought this was going to be a serious pain in the kiester, but it wasn’t. Just drop each tomato in boiling water until the skin starts to look kinda wrinkly then pop it in icy water and pinch the skin off. Not too hard.
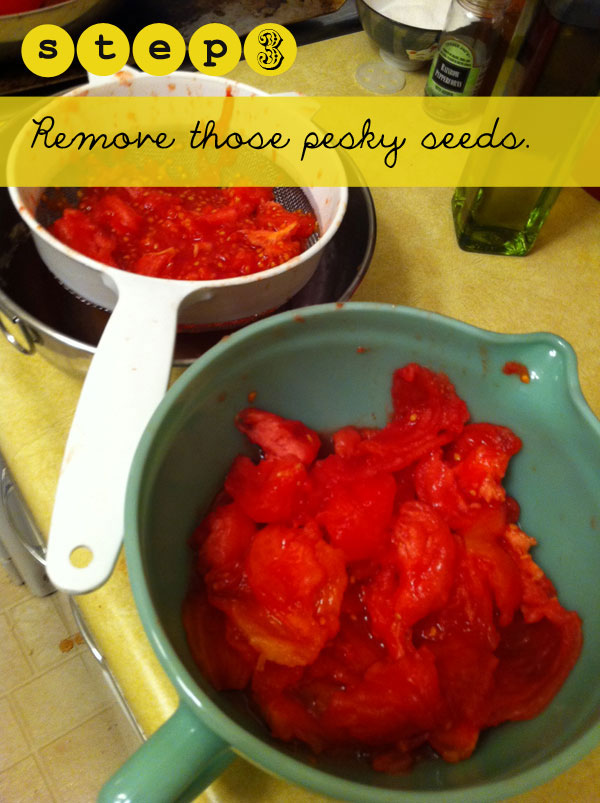
Next step was to ditch all those seeds, which was kinda fun believe it or not. But messy—I’m not going to lie to you about that. And I’m glad I didn’t have any cuts because I’m sure the tomato juice would have not been too pleasant to get into a cut.
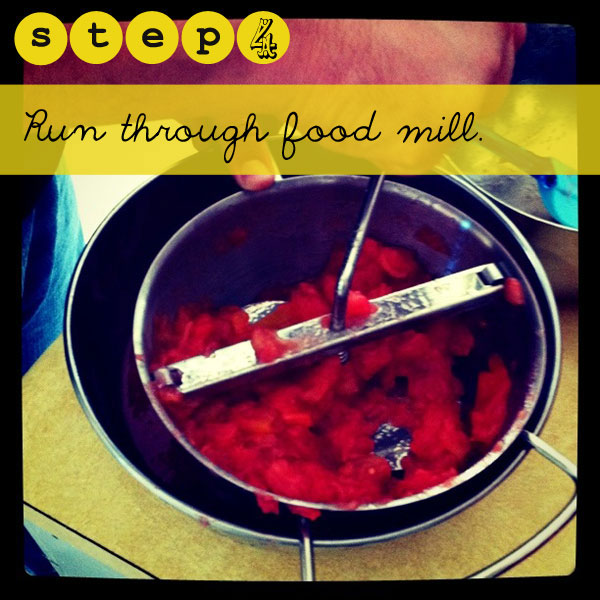
Then, just chop the tomatoes into quarters and run them through a food mill. So far, the whole experience has ten about an hour with a good size chunk in the middle. And at this point I decide to call it quits and put the nice puree into the fridge and deal with the rest of it Sunday.
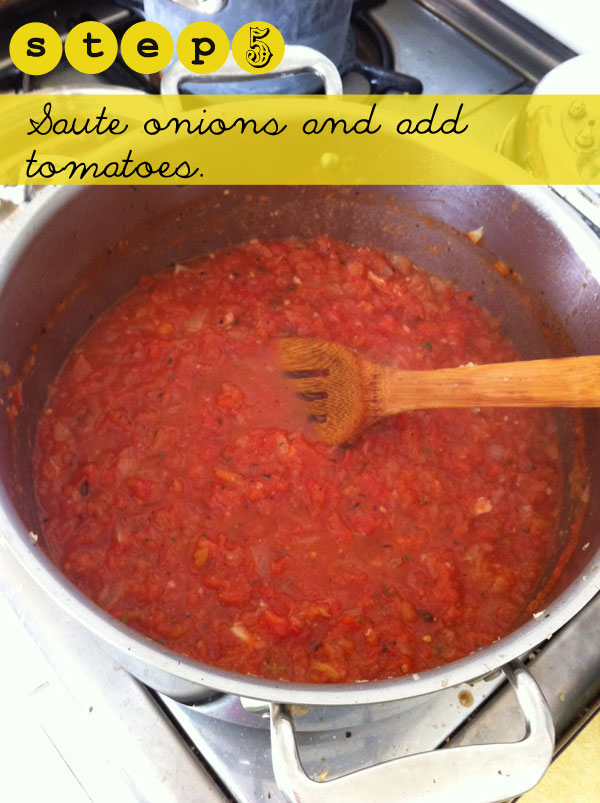
The next morning, I pulled out the tomatoes and got cracking again. I sauted a large onion until translucent. Added garlic and saute for a minute. Added tomatoes and some yummy dried herbs–oregano and basil and a bit of red wine. And with some great bread my brother brought from his favorite bakery, we tasted it until it was perfect.
Afterward, I left the sauce cool and we put the sauce in jars the next day and popped in freezer.
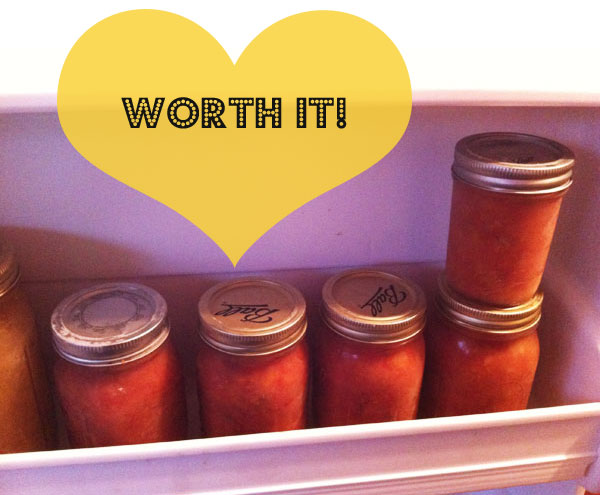
Yes, that’s right–stare at the nice orderly jars of marinara sauce–not the bathroom floor. Or the linen closet. Or my closet. Don’t even look in the direction of my attic. Or garage. Or… Well, Let’s just be happy about the sauce, alright?

Oh lawdy, how I loves this sassy lady! But really how can you not?
Jenny J. is the spectacular Vintage Sugarcube and fab friend to ModernKiddo! She takes one perfect recipe and matches it with a hilarious story and fancy vintage togs to blow our little ole minds with every post. And let’s not forget about the piles of hair that are oh so close to God. I want to put her in my back pocket and bring her out whenever I need to sparkle up! Because, this lady knows how to sparkle.
So, let’s get chatting with our favorite vintage cooking cutie!
____________________________________________
Did you know that April is “National Grilled Cheese Monthâ€? Iâ€ ve pretty much declared April as, “National Pose with the Hotties Your Friends are Dating Month.†Cheese and Hotties? Can it get any more delicious in here? I think the sound of a “Fetish & Honey Sammie†takes the cake. Who knew, a grilled cheese could be kicked up to “sophisticated dessert†status.
But letâ€s talk about old boyfriends for a minute. It was an old boyfriend of mine that taught me that feta is only a zillion times better if itâ€s bought in a block and imported from Bulgaria. Yes, I realize Bulgaria is nowhere near Greece. He was also the same boyfriend that taught me if a man looks sexy by the way he sits in a chair, then you need to seriously brace yourself for whatâ€s about to come.
Ginormous thanks to my fabulous friend Ingrid, for not only snapping these photos, but also letting me borrow her über foxy fellow.


Recipe inspired by The Rose Wine Bar in Southpark
- 1 whole wheat pita pocket
- 2 oz feta from block (donâ€t even think of buying the crumbled crap)
- drizzle of olive oil
- drizzle of honey
Open pita completely and fill with slices of block feta. Leave about 1 inch around edge of pita free. This is so when the feta melts it wonâ€t make a mess. Drizzle skillet with olive oil and grill feta filled pita on each side until slightly browned. Drizzle honey on top.
Behave tonight!
————————————————————–
Oh, Miz VS, I can’t get enough of you! Thanks for sharing this divine sounding and I’m sure equally divine tasting treat with us here at ModernKiddo.com!
]]>

Hello! Shutterbean here. I just gotta say that I’m sooo jealous of Alix and her Hawaiian trip! I want to be drinking pina coladas in the sun with a stack of trashy magazines right now! Mmmmmm Hawaii! Today I’ve got pineapple on the brain. Must be all that Hawaiian daydreaming! I’ve whipped up a little snack inspired by Alix’s getaway for you and your kiddos!  Won’t you join me?
Isn’t it funny how you can remember certain food related things from your childhood? When I was little, I was a Brownie. Remember Girl Scouts?? My mom was the den mother and she was in charge of bringing healthy/delicious snacks for us girls every week. One week she made fruit kebabs with a tasty lime yogurt dip and I was totally stupefied. I had no idea that my mom had this in her bag of tricks since I never had it at home before! I remember demolishing a few sticks and my mom being proud! I still havenâ€t forgotten that moment…
So letâ€s talk about snacks & kids for a second. Fruit on a stick! Itâ€s a brilliant idea isnâ€t it? Itâ€s fun, portable and the combinations are endless! Your little one doesnâ€t like pineapples but loves grapes? Sub them! Not sure if they will actually like them? Have them help you with a batch! Itâ€s fun piercing fruit with sticks! Just be careful with the sharp pointy edges.
Let’s get started with our Lime Yogurt Dip! Â Here it is!

Gather your simple ingredients. Yogurt, brown sugar, lime zest & lime juice.
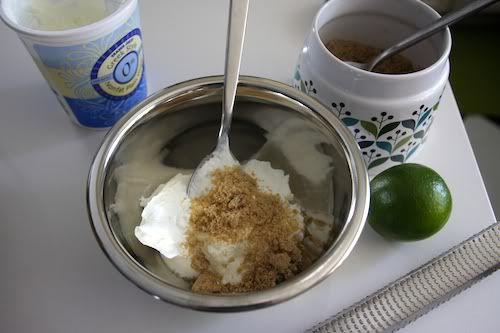
We’re having an ingredient party and you’re invited!
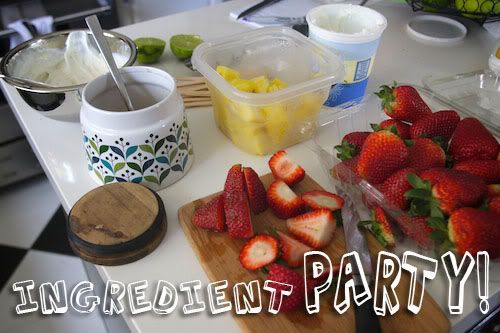
Mix the dip together and take a little sample…
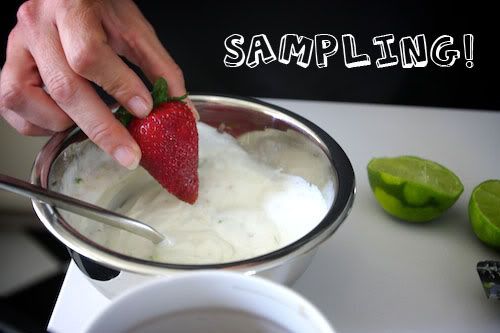
Dip Away!

I guarantee these fruit kebabs will be a treat your kids never forget!
Lime Yogurt Dip:
– 1 1/2 cups plain Greek yogurt
– 3 tablespoons brown sugar (use more if you want it sweeter)
– A small squeeze of lime juice
– 1/4 teaspoon lime zest
Stir all of the ingredients together in a small bowl. Let mixture sit for 5 minutes and then serve with your fruit kebabs!

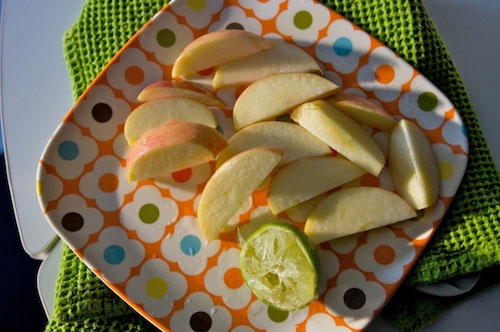
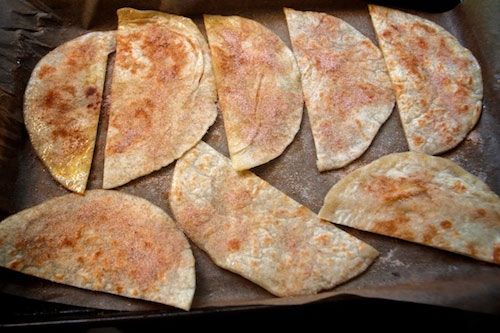
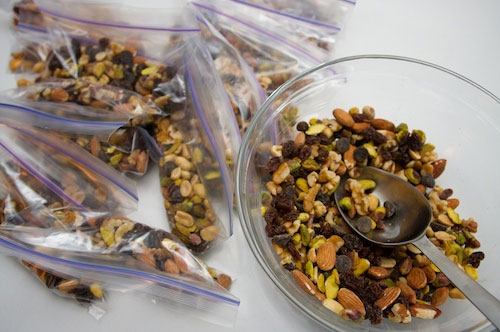
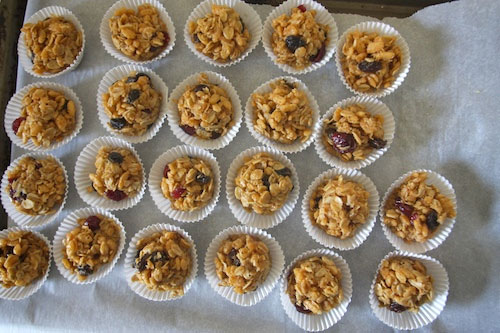
SNNAAAAAACCCKKS! Oh, hello!!!  It’s Tracy from Shutterbean here, back with my favorite Kiddos. Today we’re talking snacks! Don’t you just love snackies? Honestly, they’re pretty much my favorite part of the day. Snacks are especially important when you’re running around with your kids. How else are you going to fuel the rest of your day??? Don’t get me started on dealing with a cranky hungry child!  We must avoid that at ALL costs. I put together a little arsenal for you, so if you’re in a rut snack-wise, this might break you free. We’ll start out with some easy peasy no-brainers and then get a little more fancy. So let’s get crackin’!

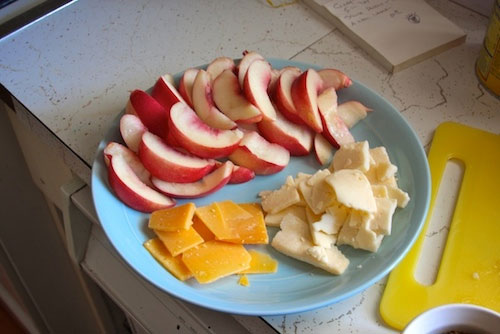
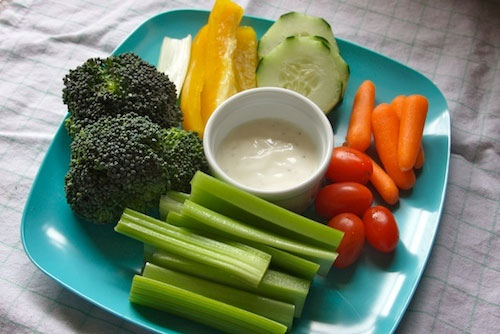
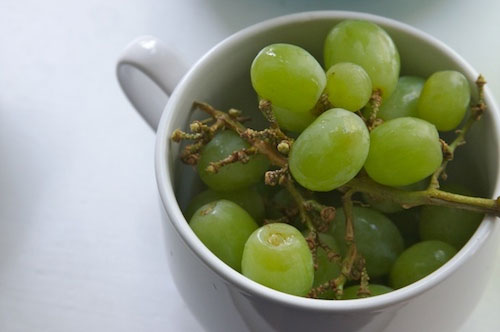

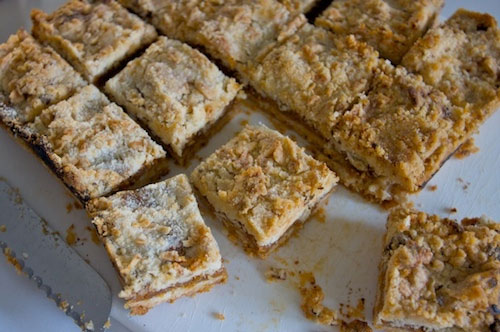
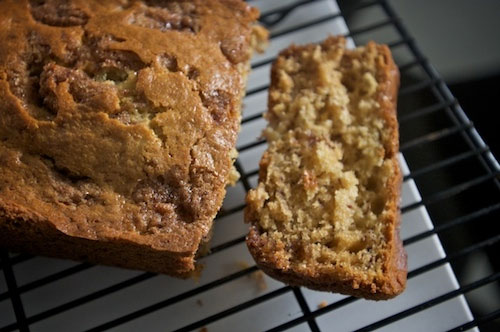
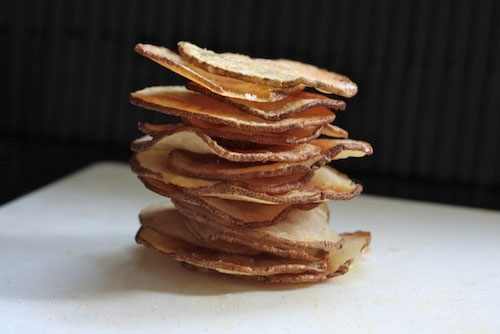


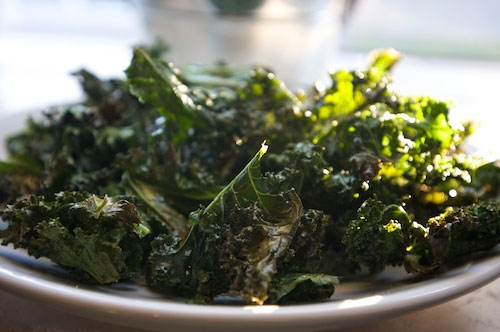
Thanks Miss Shutterbean! Another amazing collection of easy peasy meals. OH, and hurray to Pilgrim Lee for rockin’ the artwork on Kiddo once again!
Hi friends! Tracy here with another easy peasy dish for you and your family to enjoy.
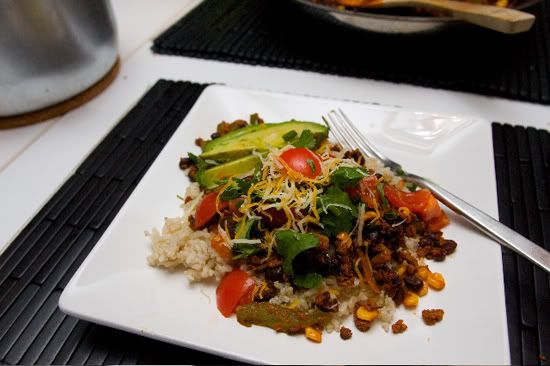
Have you heard of Soyrizo? It’s soy version of chorizo and it’s totally fabulous! It’s got the taste & texture of spicy chorizo, but there’s no meat involved! My husband is a huge fan of the stuff even though he’s a big meat eater. Sometimes I serve it alongside our eggs and toast or I mix it up with breakfast potatoes! Most of the time I just use it to make this quick Mexican Stir Fry. My boys love it.
I’m always trying to find a way to get my son Cooper to eat vegetables, and this dish does a good job of masking some! In this rendition, there’s corn, tomatoes and green peppers. There’s also a dose of protein & fiber from beans & brown rice. The soyrizo has all the spices you need so nothing really needs to be added, making it super easy to make. The leftovers are fantastic. Throw some in a cheesy quesadilla or add it to a burrito or taco! I like to eat what’s leftover the next day with some avocado chunks and a few dashes of hot sauce on top!
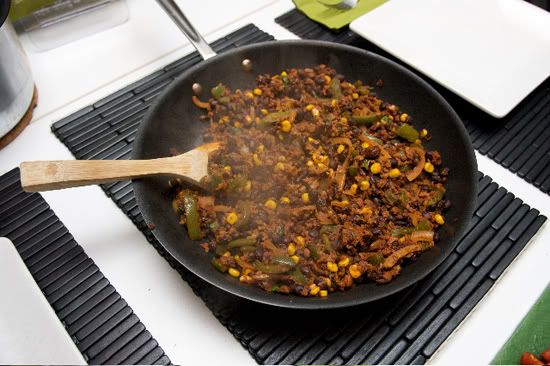
This is what it looks like fresh off the stove:
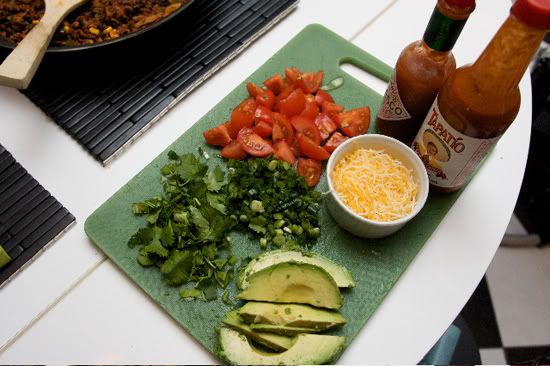
I like to make a little “toppings” bar so you we all can customize our own plate!
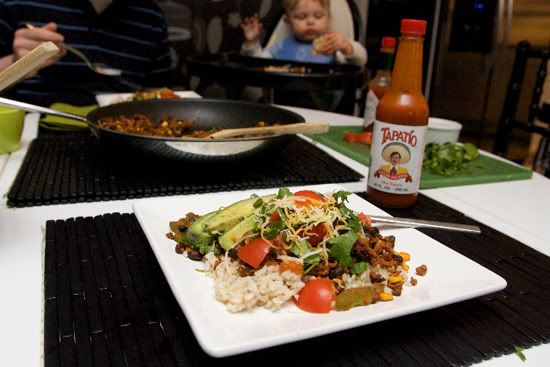
My boyz LOVE it.
p.s—This is what soyrizo looks like! I usually get mine from Trader Joe’s!
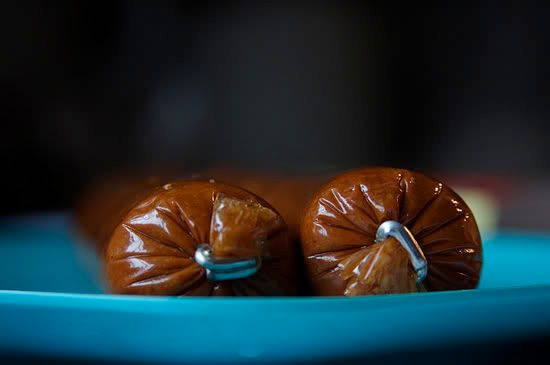
p.p.s.— It looks like a long sausage- shaped like a big U. You need to make sure you don’t cook the “skin” as it’s plastic! Just cut off the ends and *squeeze* it out into the skillet.
Mexican Stir Fry
Ingredients:
-1 package soyrizo
-1 medium onion, chopped
-1 15 oz. can black beans, rinsed
-1 cup frozen corn
-2 bell peppers, chopped (use any color you like)
-2 cups cooked brown rice
In a deep skillet on medium high heat, add soyrizo & onions. Cook for a few minutes until the onions start becoming translucent. Add in the frozen corn & bell peppers and cook for another 3-5 minutes. Add your black beans and brown rice and heat through. It’s really good if you can almost brown/char some of the soyrizo! It adds a nice texture to it! Serve with you favorite toppings!
Fun Toppings:
-avocado slices
-sour cream
-chopped tomatoes
-cilantro
-shredded cheese
-green onions
-tortilla chips
-salsa
-hot sauce!
This recipe is just a base. If you like more corn, add more corn! Not a fan of black beans? Add pinto! Have some leftover sweet potatoes? Throw them in! I must warn you that the soyrizo is on the spicier side. If your children or significant other is sensitive to spice, then you might wanna opt out of this recipe  You could also just add some pureed sweet potatoes to help balance the spice! Fortunately, my son Cooper LOOOVES spicy stuff. He goes totally apey when I make this. He calls it “Spicy Rice!” I guess the apple doesn’t fall from the tree!
————————————–
Thank you so much Tracy for another super yum yum dish. I can vouch for the fact that soyrizo is TASTE-TEE!!! Oh, and that little cutie in the background (aka The Spicy Wonder!) is Tracy’s mega cute boy Cooper. Coop has been Weekly Kiddo before and I think you’ll agree he is adorable. Check him out here.