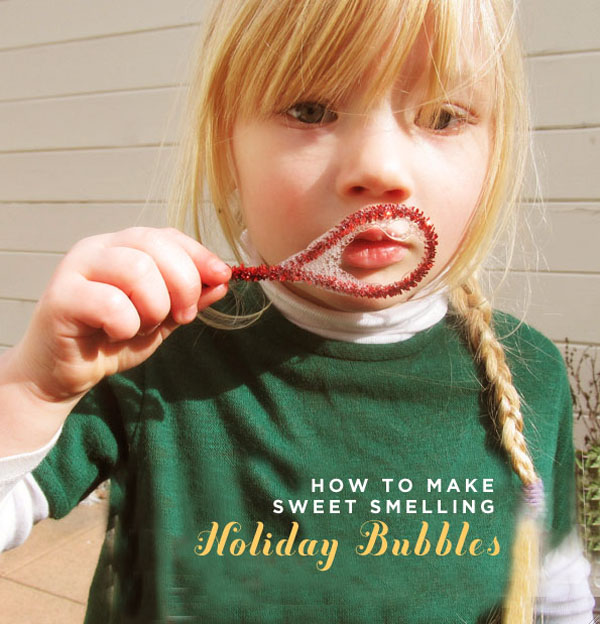
The Peach is a big fan of bubbles. Blowing them and catching them. It is a great and inexpensive way to have fun with your kiddo. I used to buy whatever bubbles I could find, but one day I watched a bubble pop over the Peach’s head and it sprayed into her eyes. She immediately squinted and started to cry and I had to take her in and wipe her eye with a wet compress. All of a sudden it hit me that I needed to find a better bubbles solution. Something less… uh.. toxic.
Fortunately, I only needed to look as far as my sink! I realized I could make a batch of safer (and cheaper!) bubbles with Method.
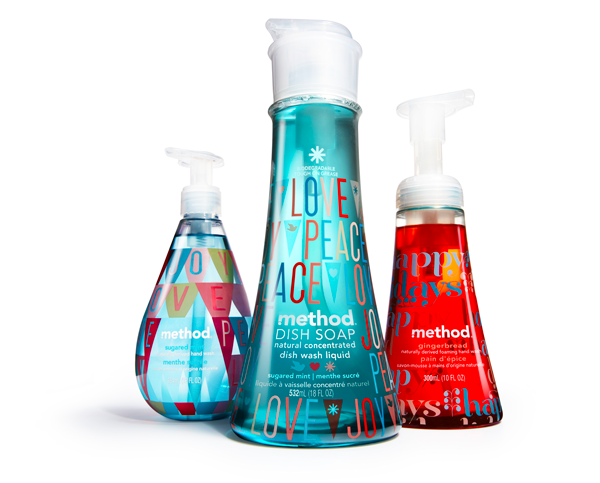
Since it is the season for easy, quick holiday projects, the Peach and I decided that this would be a fun one and a great opportunity to use Method’s holiday scented dish soaps. I really love the sugared mint scent but the frosted fir is pretty fabulous as well!
So, here are the deets.
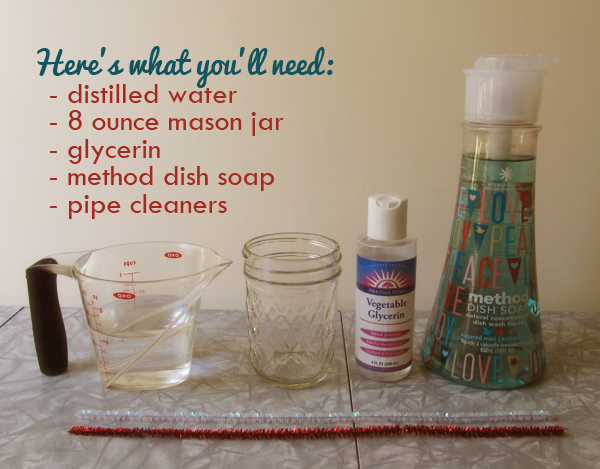
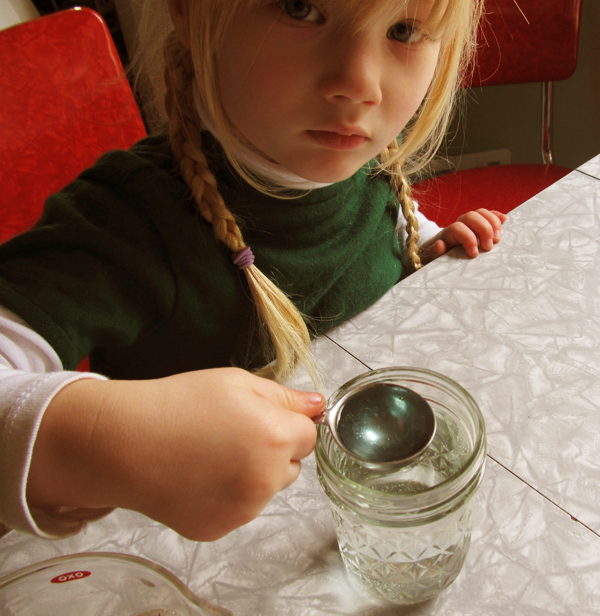
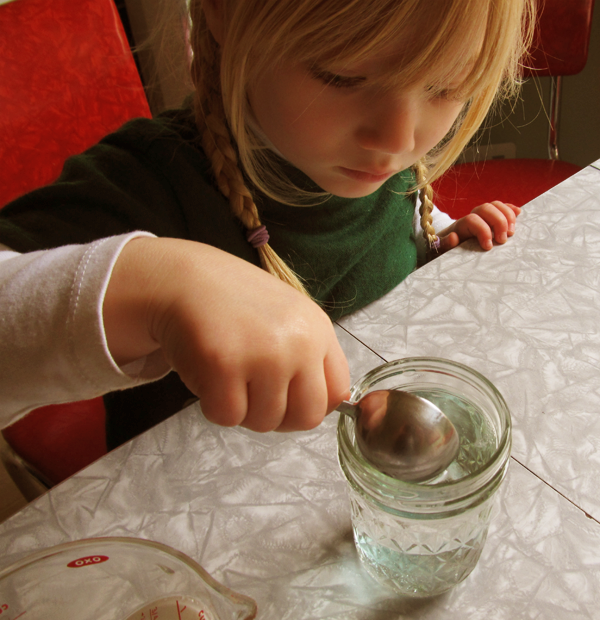
Pour the following amounts into into the mason jar:
- 2/3 cup of filtered water
- 2 tablespoons glycerin*
- 4 tablespoons of Method dish soap
I have my assistant help me do this—it’s that easy.
Put the cap on the mason jar and shake it for about a minute or so.
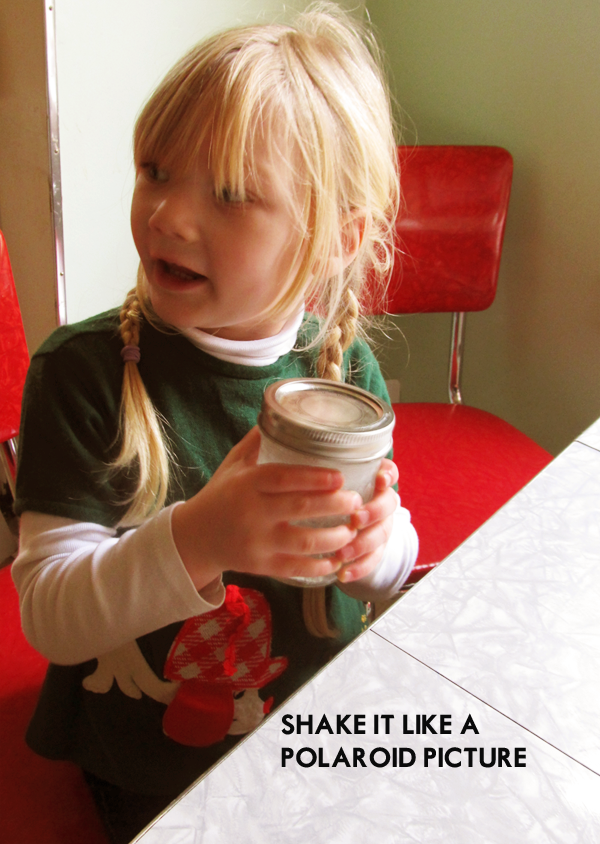
Then let the bubbly fun begin! You can also stir the ingredients slowly and let it sit overnight as well if you don’t like the bubbles up top. But we didn’t mind that much!
A quick note about glycerin—I had never used or bought glycerin before, but it makes the bubbles last longer, so it is a great addition and not the freakish product I thought it was. It can be bought at any drug store or even supermarket. I had no idea that glycerin was made from vegetables—I like the gylcerin derived from coconut personally, which I picked up at Whole Foods. You can also use light corn syrup as well, but that leaves a sticky residue where the bubbles pop.
I made a wand using a pipe cleaner. I made the opening about the size of a quarter and just twisted the ends up. Super easy!
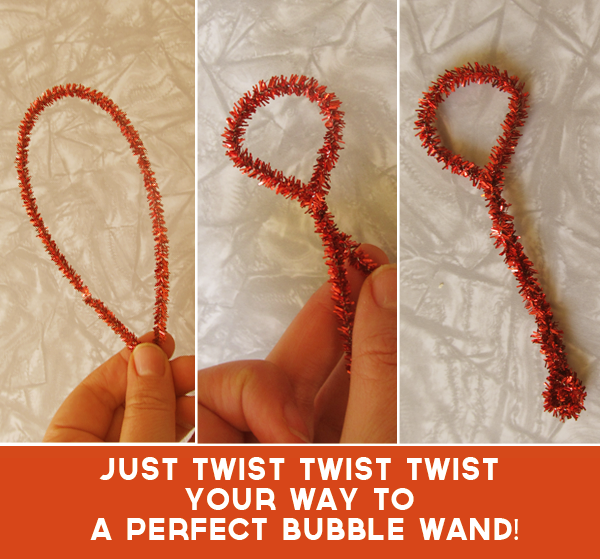
Or you could go big and buy some cool bubble pipes.
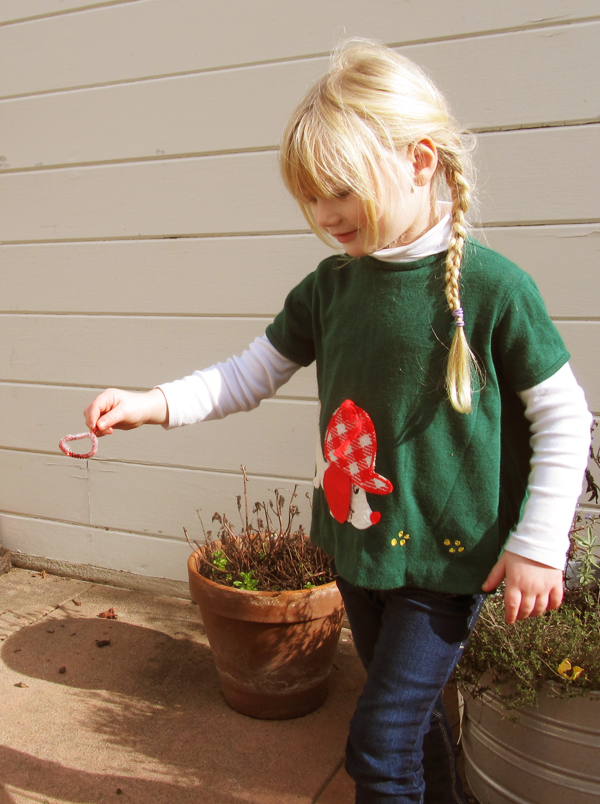
In fact, the whole project took less than 5 minutes and the Peach loved helping make it. She also really enjoyed the immediacy of this handy little project! And the clean up was quick compared to many other craft projects I have tried with my three year old.
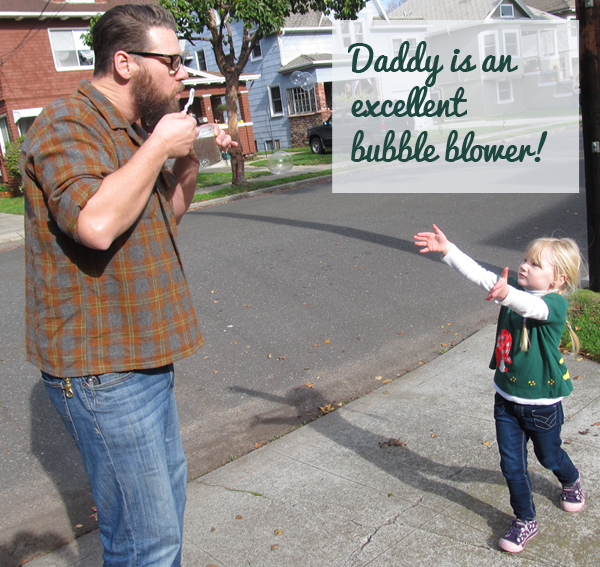
The weather was so nice this weekend that we tried the bubbles out immediately.  We spent a good hour running around blowing and catching bubbles. Eric even got into the act, blowing bubbles for the Peach to catch.
Oh, and by the way, when a bubble broke and a little bit of the bubble liquid dropped into the Peach’s eye? She laughed! If that isn’t a sign that Method is a safer product, I don’t know what is!

Thanks Method for inspiring this little holiday DIY! And you can get these yummy smelling goodies at Target or Method’s Website!
I think this might be my go-to holiday giveaway for kiddos! Have you ever made your own bubbles? Wanna give it a try ?

This post brought to you byÂ
![]()
but all opinions are always our own. To read more on Method’s green practices, ingredients and philosophy, go here!