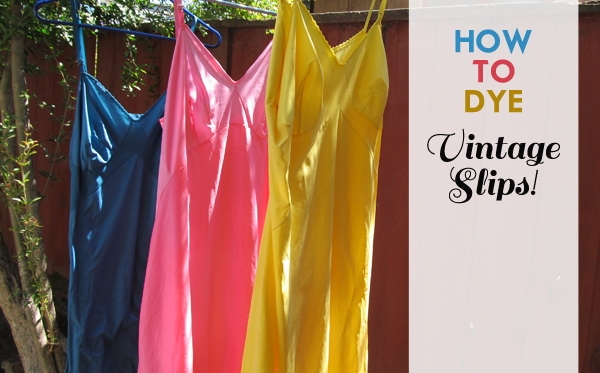
I have been collecting vintage slips from estate sales, thrift shops and other misc. places for over a year with the goal of dyeing them pretty Easter egg colors that would add a dashing little bit of color to my normally all black winter wardrobe. Dyeing them has been on my craft project list for SO LONG. The magical lure of an extra day added to the weekend gave me the perfect excuse and additional time to finally DYE THOSE SLIPS.

Here is what you’ll need to start your dyeing adventure!
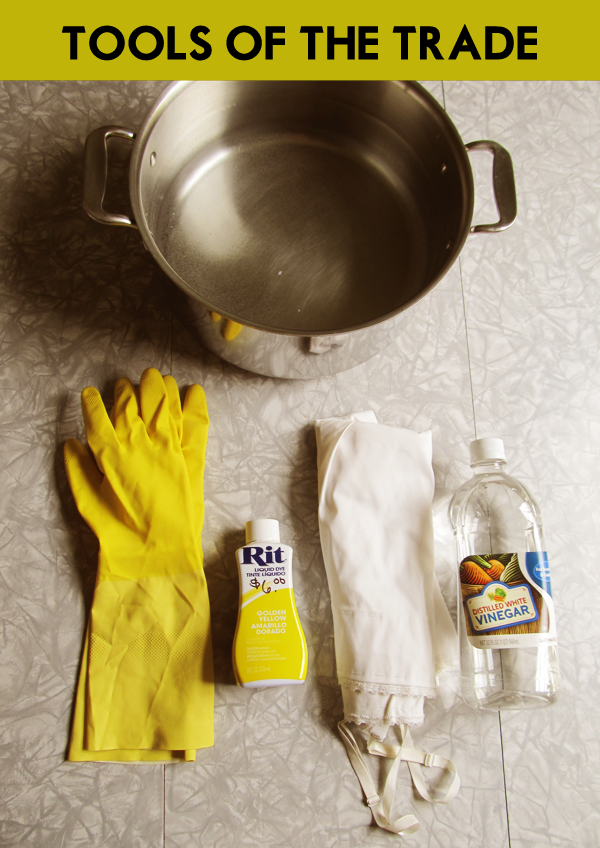
- A non-porous large pot–stainless steel/Teflon/enamel will do
- Rubber gloves
- Dye of choice. I prefer liquid Rit dye and feel it is better than the powder and read reviews saying it dyes fabric more evenly than powder
- Vinegar–this is essential for dyeing synthetic fabrics such as the nylon of vintage slips. If you are dealing with a natural fiber like cotton or silk, you will use SALT instead to help set the dye.
But before you rip open that dye, you must dress the part–like my fashion forward all black look of an old t-shirt and a pair of black sweat pants my mom left me. I’m even wearing good old rubber Crocs in black. Basically you want to wear clothes that you don’t mind getting splashed with color and pretty much ruined.

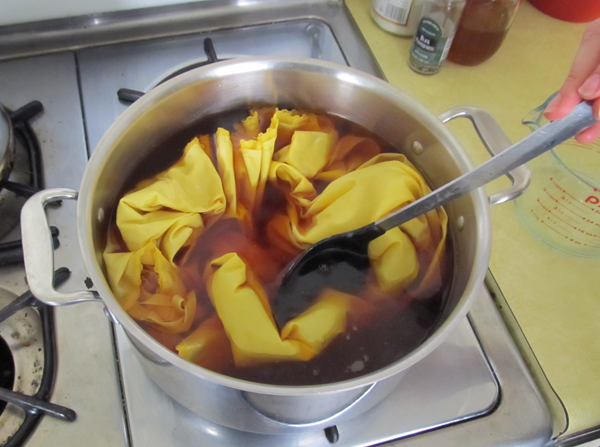
1.) Fill pot with water–1 gallon and add 1 cup of vinegar.
2.)Add half of the bottle of dye and stir and set water to just simmering.
3.) While waiting for water to simmer, prep your slip by getting it very wet with water.

4.) Let the magic begin and DIP THAT SLIP!
5.) Keep slip in water and stir very often. Keep heat at a simmer making sure it doesn’t boil over for 30-60 minutes.
6.) After 30-60 minutes take slip out and rinse it under hot water turning down to cold water. This helps set the color. Some color might come out, but that is normal.
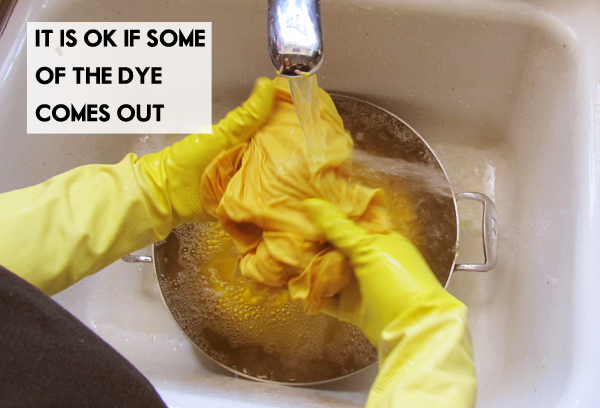
7.) After you have rinsed the slip for a good five minutes, squeeze out as much water as you can and hang to dry. As you can see, I got carried away and went on a dyeing tear!
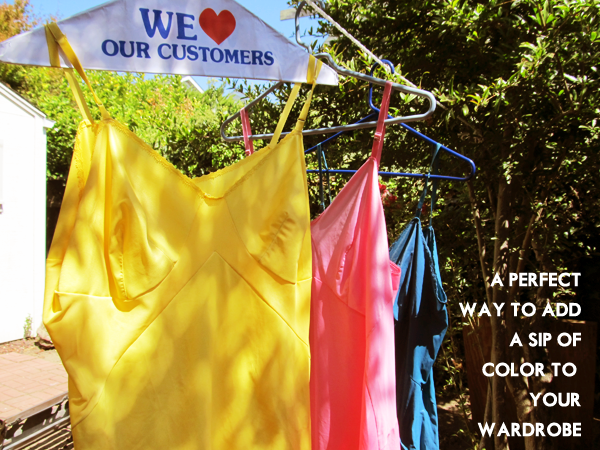
And voila! You have a lovely slip in an equally lovely color! I think they are so jaunty just on their own, but you could add a few rows of contrasting colored lace to fancy it up even more if you wanted.
Remember–all of this glamour does come with a price. Dyed items like these slips are not to be added to your regular laundry or you could end up with a bit of a mess.  Hand washing only for these sassy slips. But that is how you should treat vintage clothing anyway.
Enjoy and I hope you give it a try. This was surprisingly less fusssy than I thought it would be and took time than I thought it would which was a nice surprise. Plus it was a whole lot of fun too!!!
Have you ever tried dyeing slips? Or anything for that matter? What was your experience like?

how pretty! these look beautiful! what a great idea. : )
Slips are rad.. But you Miss Dottie? Uber cute!!
You are so sweet! I’m always loathed to post photos of my plump personage but sometimes you just gotta rock what you got and smile through it!
Peggy says
What a super way to revive not only slips,but shirts and blouses that need a lift.
Ha! Just so I don’t do it on Dad’s white shirts, eh?
These are Fabulous!
I am always finding vintage slips but have passed them up due to discoloration…not anymore my dear! Thanks to you!
I am super excited to do this now!
You are awesome!
xoxo’s
Ash
Hurrah! I’m so glad to hear that! Also, you should consider giving those slips a Oxyclean bath beforehand to try to get those stains out! I’ve had some great luck using that to clean vintage stains!
I love the colors! They are jeweley/Eastery/beautiful! I like your pluck, too, doing three in one session! Great pose, by the way, Miss D!
Ha! Once you dye one slip, it is very easy to get carried away and want to do more!
I’d love to see you modeling some of those slips in a complete outfit. I love the idea but I’m not sure how to wear them… under a dress so the hem peeks out? With a long tunic on top? Also, I’m a plus-sized girl, do you have any tips for choosing the right size slips when thrifting?
Fun idea! You look like you are having so much fun, i must try!