Category Archives: Crafts + DIY

Dottie’s Kraft Korner :: ATTACK OF THE KILLER UFOS!!!

Professor Dottie here from the School of Slap Dash Sewing.

This summer I’m taking a bit of a sabbatical from SoSDS, I’m being kidnapped by UFOS! Don’t worry friends, this ain’t no trip to Roswell–“UFO” as they are called in the crafty world–“UnFinished Objects”.  And friends I have enough of them to plan to trip to the farthest planet in the galaxy.*


So, this summer, I’m holding myself accountable and finishing up some projects that I’ve been meaning to do for awhile.  My goal. ONE A WEEK. Every week, I’ll try to report back and let you know how I’m doing. Or not doing… We’ll see…

I, Dottie, UFO hunter, will attack each one with a fierce passion ridding the world of the craft clutter and actually getting SH*T done so I can relax at the end of the summer with a nice glass of pinot grigio and know that these little nagging projects found their happy ending!

Here is my list:

  1. Finish yellow quilt
  2. Finish stacked coin quilt
  3. Dye slips and frou frou them up
  4. Make a dozen every day napkins
  5. Make holiday napkins
  6. Mend pants
  7. Take in Eric’s pants
  8. Fix Eric’s shirts
  9. Make Peach some light weight summer tops
  10. Make Peach light summer pants/skirts
  11. Finish shirt I cut out
  12. Finish Sailor jacket
  13. Fix night-gowns
  14. Fix gray sweater
  15. Fix green sweater
  16. Fix Peach’s dress

Image via: Etsy shop, The Happy Family.

I want to believe! Believe that I can finish these blasted projects myself. I’m not alone in my quest to find peace in the galaxy–I mean craft room. Sassy seamstresses from around the world, led by very glamorous Mena Trott at Sew Weekly are busting out their own UFOs! Go ladies! FIGHT THE FIGHT!!!

C’mon, who’s with me?

Dottie Kraft Korner: Toddler Bib Tutorial.

Yes, friends, it’s time to get your craft on!


Professor Dottie from the School of Slapdash Crafting is back and today, I’m going to show you an easy, a super easy and a crazy town easy way to make a bib.  And two of them don’t even involve the sewing machine. I know–BANANAS, right?

I realized that the Peach has outgrown her original bibs. This became clear to me when I noticed a stain line that went across her tummy right when the little bib ended. Hmm… I thought to myself…new larger bibs will save me some grief in the clothing department.  We were using cloth napkins and a kipiis, which is great, but oilcloth protects clothing

I think bibs are the unsung heroes of toddlerhood. I know there are a lot of good bib tutorials out there, but I’m adding mine to the mix because after making bibs and seeing how darn easy these are to make, well, I just needed to add another bib tutorial to the Internet!

And these bibs are so darn easy AND cheap to make–two of my favorite features in craft projects (as opposed to people….)   I spent $10 on materials and made four big bibs.  The original bib that I based my design on cost me $15.00! And once you make one, you are hooked.

Here is the prototype bib I’m using as the pattern. I bought  itat Whole Foods that has only been in use for like five months and it already looks beaten down. Sigh!  Also, that pocket was rather lame as it didn’t really catch stuff, so I omitted it from my version.

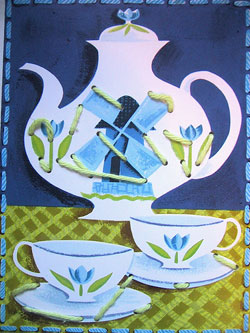
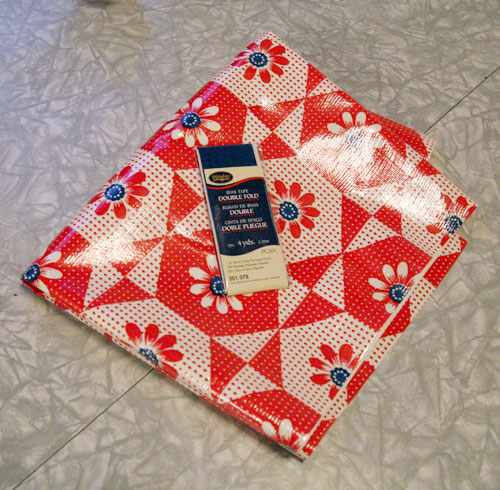
I went to my local shop of crafty goodness and bought some oilcloth and bias tape. They had a nice selection but I thought one yard of this red/white and blue floral dottie combo is adorable and I thought it could go for a little pop of blue bias tape for the edging.  Even though I show one packet, I had to go back and get another pack.

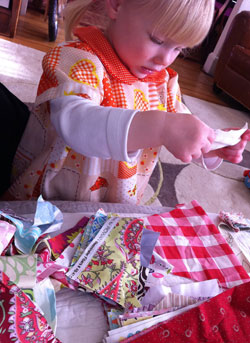
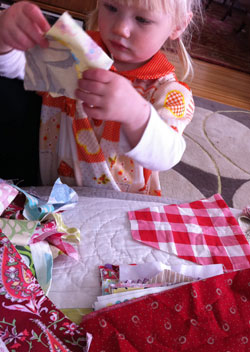
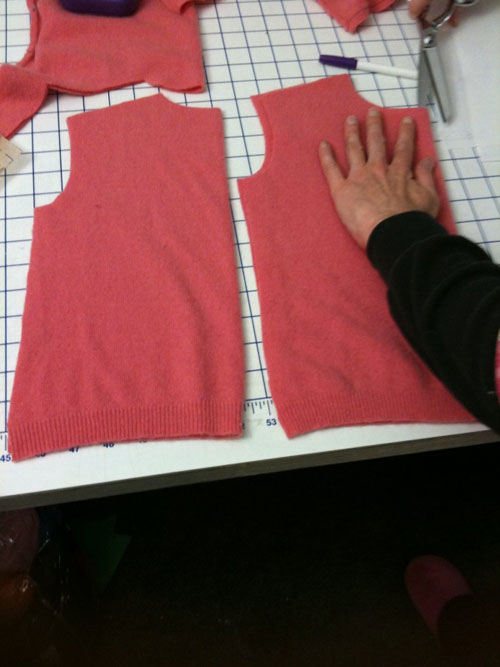
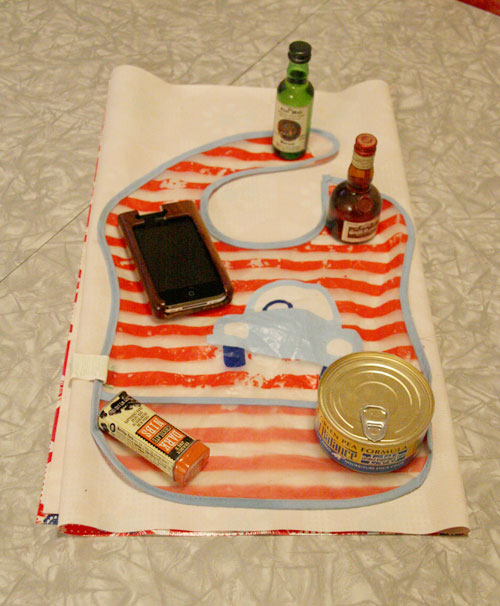
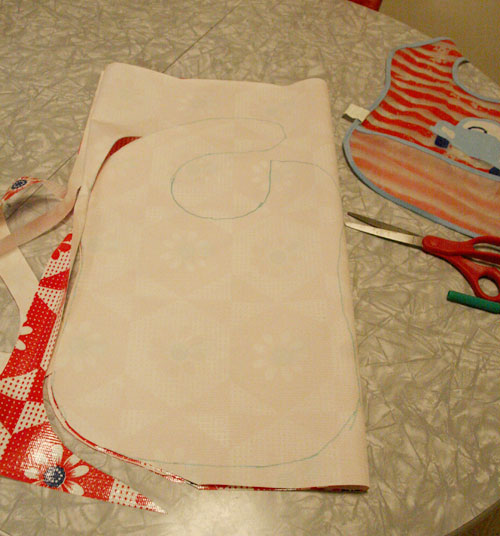
I weighed down the original bib on top of the oilcloth folded four times and traced around it.  I do have fancy little sewing weights, but couldn’t find them and instead basically grabbed whatever I could find within a yard of me.  So, really–why use the sewing weights can I can use a can of cat-food, a small bottle of alcohol and other misc. items that are within your reach and will do the trick just as well!

Then cut through the four layers (or one layer if you are just making one).

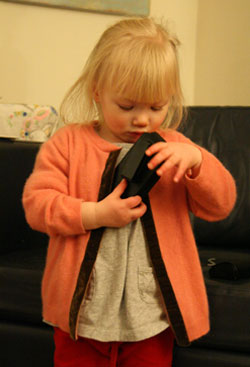
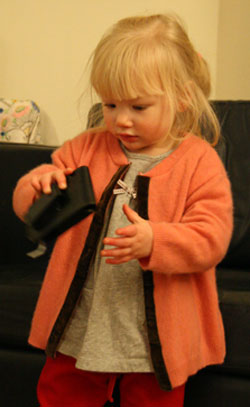
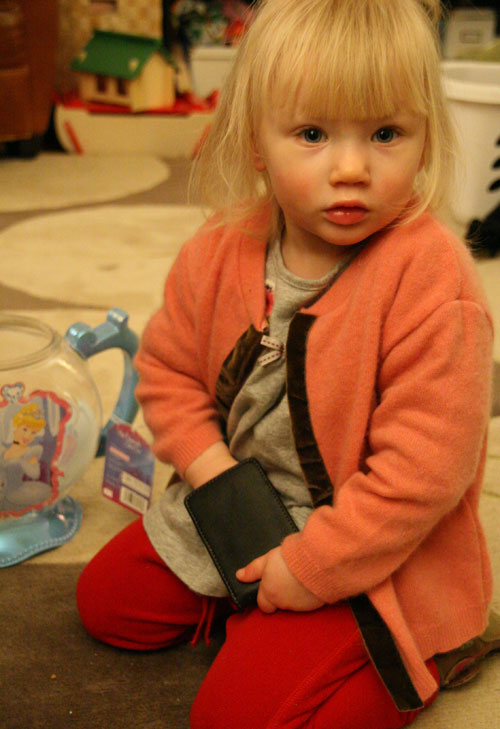
Add a little velcro dot–grippy side up. My assistant shows off the dot.

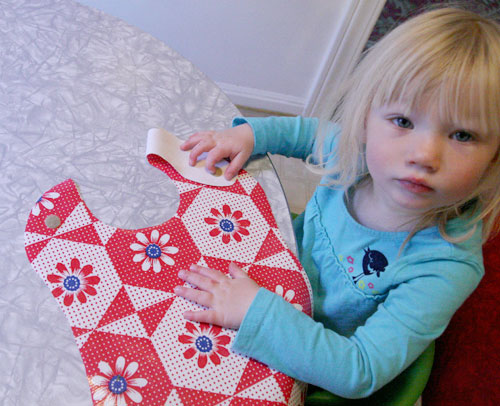
And VOILA– CRAZY TOWN EASY BIB #1!!!

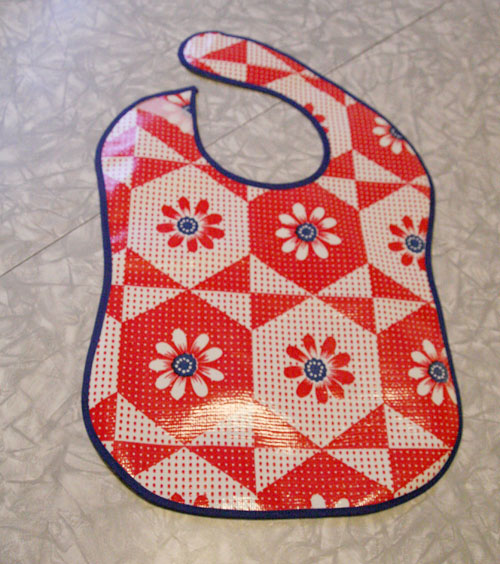
If you want to add a bit more glamour, you can spend ten extra minutes gluing bias tape to the end.

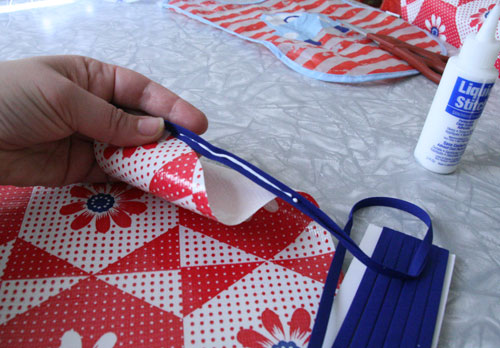
I would highly recommend taking your time when putting the bias tape on. I used a cheap, fabric glue and put a line of it in the middle fold of the bias tape and then gently attached it on the edge of the bib. Warning–don’t pull too much on the bias tape to go around the corners. It will stretch the bias tape too much and wrinkle the oilcloth a bit. Not enough to be traumatic but if you are a perfectionist, well… But regardless, it’s totally adorable, eh?

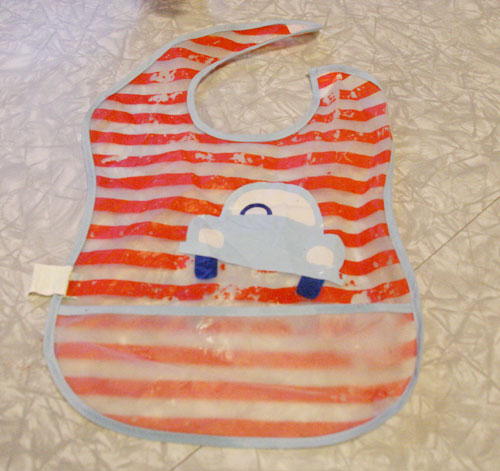
and TADA! VERY EASY BIB #2!!!.

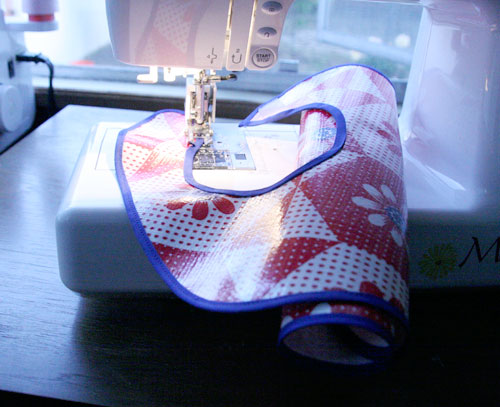
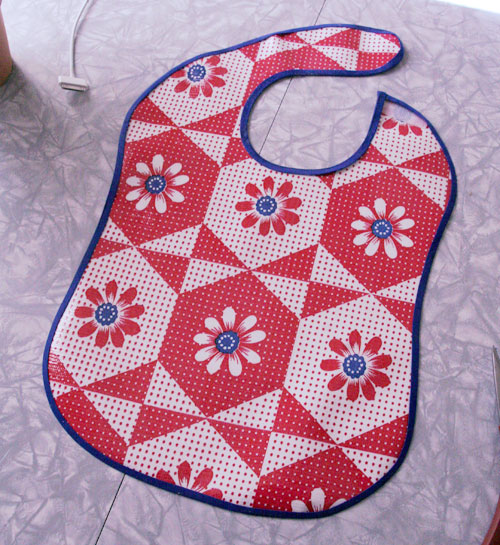
And lastly, if you really want to gild the lily, you can sew down the bias tape, which takes another 10 minutes (and 24 hours for the glue to cure) but makes this whole bib pretty indestructible.

THERE YOU GO! Super awesome EASY BIB #3.

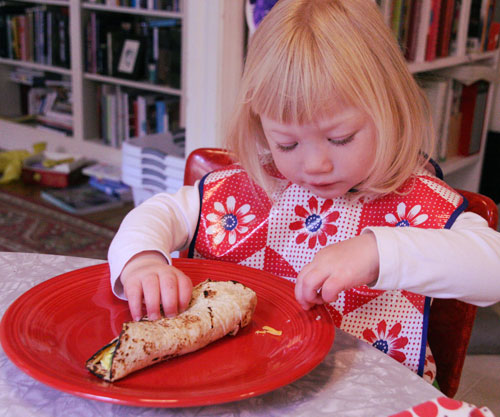
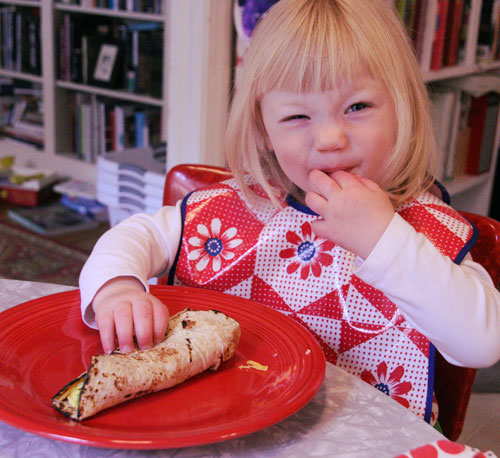
And they work! Yay! Particularly well with breakfast burritos on Sunday mornings.

Have you ever made a bib for your little one?


Dottie’s Kraft Korner:: Introducing Toddlers to Sewing.

I’ve been so busy this year that my beloved crafts have certainly suffered. I haven’t done much of anything for awhile and it pains me to see dust on top of my dear sewing machine. But some time in mid-April, my fingers started to twitch and the need to sew came over me. Perhaps it was the warmer weather and thoughts of easy sewing projects using all those pretty pretty cottons I saw online at  Fabric.com, Fabricworm, and SewMamaSew–naughty naughty sites that love to eat my money. I did know that I wanted to start small and bought a couple of bags of cotton fabric scraps from Etsy sellers.  I was determined to do something with them.

When the puffy package arrived at my door, I had to open it immediately. I was absolutely delighted with the colors and different patterns. But I wasn’t the only one.  Little Miss Peach played for nearly an hour sorting the cotton bits of fabric, pulling out her favorite scraps, making piles and cramming them into her pockets.  Clearly she has a love of fabric and I can’t lie–I’m tickled pink by it.

But when and how do I take ner nascent interest in fabric (and possibly sewing) to the next step and introduce her to the wonders of sewing? Then it hit me–sewing or “lacing” cards. I remember playing with them as a child and thinking I was quite the seamstress pulling that shoelace through the holes.  Lacing cards have been around for awhile and I adore the vintages one in particular–such great images!

Image via: Happy Hearts at Home.

Images via: MeetMeatMike.

Images via Betwitched Magic.

There are of course great lacing card sets available online too, like this sturdy looking set based on Cinderella from Etsy seller, Kris67.

Oh, and I love this wooden squirrel one. I think it’s my favorite–from TnTWoods.

And Melissa and Doug even have a great set of doggies and kitties that can be laced.

I also think lacing cards would be pretty easy to make–just color copy some lovely images, laminate them, go at it with a hole punch and voila–lacing card.  Just add a big plastic needle and thick yarn and you’re done!

Crafters out there–how do you get your kids involved in your sewing endeavors?


Dottie’s Kraft Korner :: The Peach’s Upcycled Sweater.

I used to be a knitter. A hard core uber knitter who would drool over yarn and patterns and spend hours knitting dear sweaters for friends’ babies. But right around when I had my own little baby, my RSI kicked in hard core and ended my once fruitful knitting career.

So, I’ve been supplementing her knitted wardrobe with vintage sweaters I buy from Etsy or Ebay. And a few very dear friends even gave me the sweaters I knit for their children for the Peach. But I still have the desire to have my little cutie wear something cozy made my me.  Each time I read Knitty Kitty nearly sends me into a knitting frenzy and a goal to make a sweater for my Peach. But why not spare my arms so grief and try upcycling an old sweater into a new one for the Peach thanks to some Etsy inspiration?

A year ago at an estate sale I bought a lovely plain JCrew cashmere sweater (size small) that was what I like to call the perfect pink–somewhere between ballet pink and champagne pink and oh so cozy and soft and yummy.  That beloved color looks like death on me, but grand on the Peach, so I thought it would perfect for my upcycling sweater project.

With the help of a friend, I cut apart the sweater and used this pattern from New Conceptions and four hours later had a lovely little pink sweater tipped with brown velvet for the Peach.

I must admit I relied a lot more on my friend’s confident sewing than my own–the sweater fabric was very stretchy and I was such a nervous nelly about cutting and making mistakes when really–there was no need.  It’s just a sweater! It cost me $2.50!  That is less than what I spend on white muslin.  I’ve always said the best thing for sewing is a fearless attitude.

And I’m very happy with the final result.

And the Peach loves it.

“Cozy” she said, which is kinda her word for when she is very happy with the way something makes her feel. I couldn’t agree more, little girl.

Oh and that Cinderella plastic thing off to the side was a “gift” from the X ray technician that Miss Peach met yesterday for her yearly dye test review for her recurring UTI, which involves a catheter and some serious grief for the Peach.  The X ray technician had cancer of the eye as a little boy and was so struck by his own experiences under X ray machines that he decided to make it his career on helping little kids get through their X rays.  What a great guy! And the Peach loves it, of course!

Have you ever upcycled sweaters? What was your experience?

Dottie’s Kraft Korner: Valentine’s Day Craftiness

What the? Valentine’s Day is only four days away?  How did that happen?

Well, never fear friends, I’ve found the most charming Valentine Day crafts for you that will only take a few minutes to do and give a whole lot of craft Valentine’s Day bang for little craft buck.

Personally, I’m crushing on these adorable cupid arrow gift bags from Creature Comforts.  So sweet! How could a lollipop stick, some paper, and a paper bag be that adorable?

When in doubt, Martha it out.  Because you know Martha will have something beautiful and clever and in this case easy with these heart-shaped button covers that would put a smile on any little person’s face come February 14th.

Remember those great valentine’s day “post boxes” you made as a kid to receive all of your valentines. Well, check out this Valentine Day felt envelope tutorial that totally beats the old paper bags! Oh, the cuteness of it all. And totally doable for the eight and up set, I believe! From Barks Blog.

Now, ya’ll are familiar with Marie from Make & Takes, right? That woman is a craft genius.  A total triple threat of awesomeness because not only is she creating clever crafts her kids, but she is also THE NICEST GIRL IN THE UNIVERSE. Seriously! And she created this adorable valentine hear lei, which is just killing me with cuteness. And this is great for the three and up set, which makes it even more awesome.

Now, this last one is just too lovely for words.  This is a great example of how hearts could end up in my daily decor. If they were made of lace and looked as pretty as these from Michele Made Me.  What a lovely idea–lace heart banner. Lovely.

OK, we gave you the ideas, now fifteen minutes in Michaels and you’ll be set for a fun crafty heart filled weekend.

Enjoy!